2D Data
Polyscope is primarily focused on 3D data, but can also be used for 2D visualization. This section descibes a few helpers which make it easier to do so.
Example: register a 2D point cloud and add some vectors to it
#include "polyscope/polyscope.h"
#include "polyscope/point_cloud.h"

polyscope::init();

// Set the camera to 2D mode (see below)
polyscope::view::style = polyscope::view::NavigateStyle::Planar;

// Build a random point cloud
size_t N = 3000;
std::vector<glm::vec2> points(N);
for (size_t i = 0; i < N; i++) {
  points.push_back(glm::vec2{polyscope::randomUnit() - .5, polyscope::randomUnit() - .5});
}

// Register it. Note the "2D" in the function call.
polyscope::registerPointCloud2D("flat points", points);


// Build a random vector
std::vector<glm::vec2> randVec(N);
for (size_t i = 0; i < N; i++) {
  randVec[i] = glm::vec2{polyscope::randomUnit() - .5, polyscope::randomUnit() - .5};
}

// Add it to the point cloud. Note the "2D" in the function call
polyscope::getPointCloud("flat points")->addVectorQuantity2D("random vector", randVec);

polyscope::show();
Adding 2D data
Functions which accept 3D positions (or vectors) as input have a variant which takes 2D positions, and appends a 0 z-coordinate. For instance, registerPointCloud() has a matching registerPointCloud2D(), there’s registerSurfaceMesh2D, etc. Any other functions which don’t take 3D positions can be used as normal, like addScalarQuantity().
Note that you definitely should not just call the normal 3D versions with 2D data. If you’re lucky, it will fail to compile; if you’re unlucky your code may segfault!
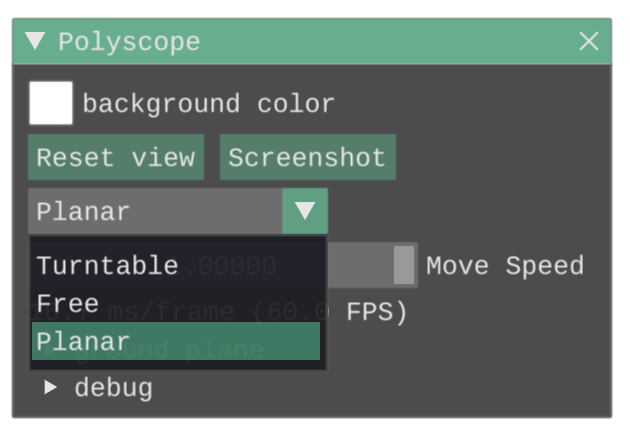
Planar camera mode
The Polyscope camera can be “locked-in” to a 2D view by setting the mode to Planar. In the UI, this option is in the main Polyscope window, set to Turntable by default. Setting the camera mode to Planar will also hide the ground plane.
To set this option programmatically, use:
polyscope::view::style = polyscope::view::NavigateStyle::Planar;